In this tutorial you'll learn how to run the Card2Crypto payment gateway on your own custom domain — instead of api.card2crypto.org and pay.card2crypto.org — using a free Cloudflare Worker. Your customers never see the Card2Crypto brand; every request is silently proxied through your own domain. You can also apply through our White-Label Affiliate program to earn a share of every transaction that runs through your branded gateway.
There are 4 steps:
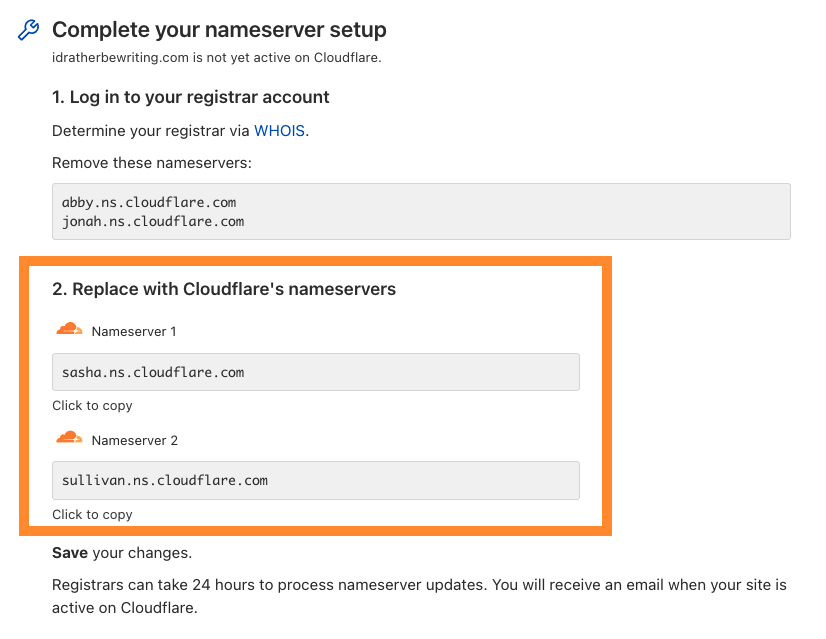
api.yourdomain.com and payment.yourdomain.com (Replace yourdomain.com)
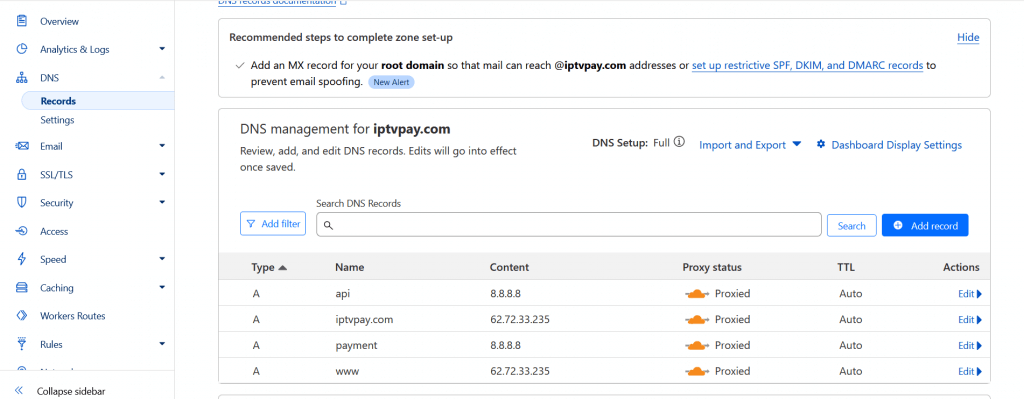
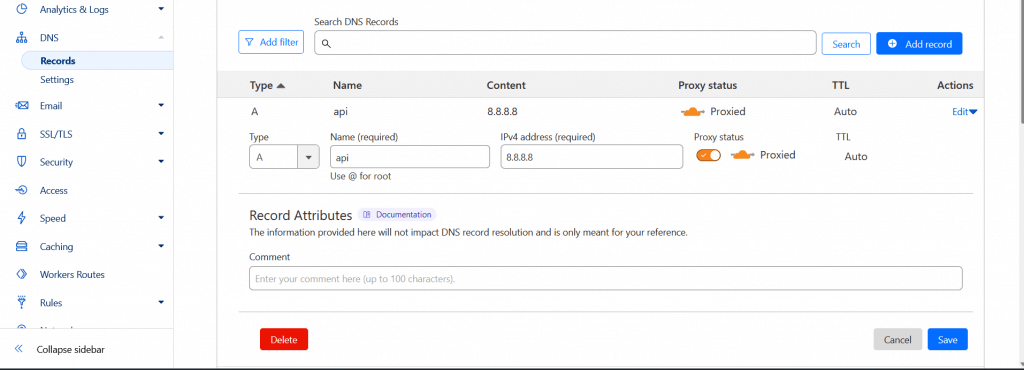
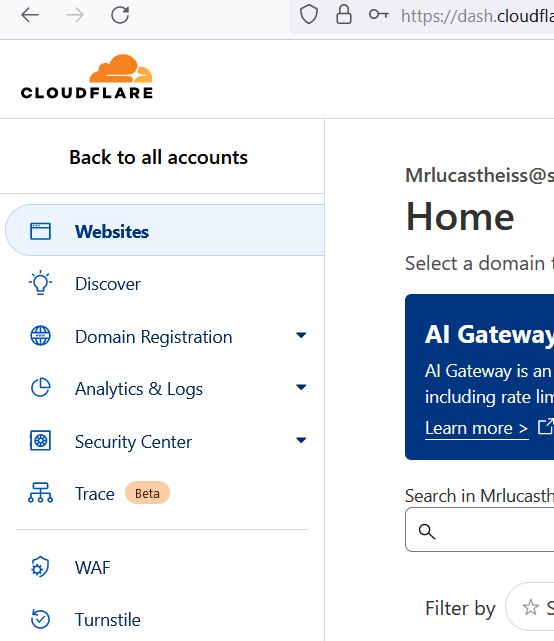
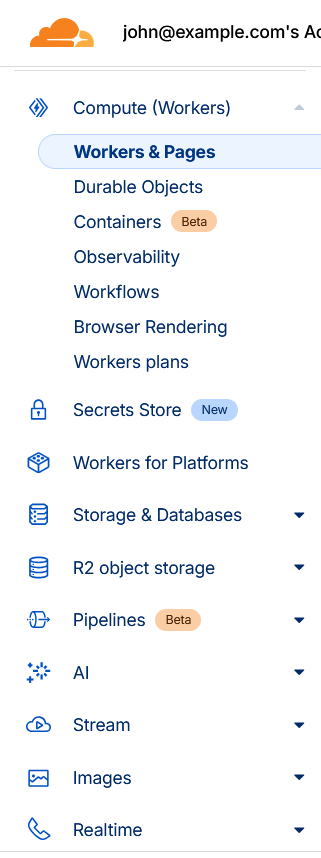
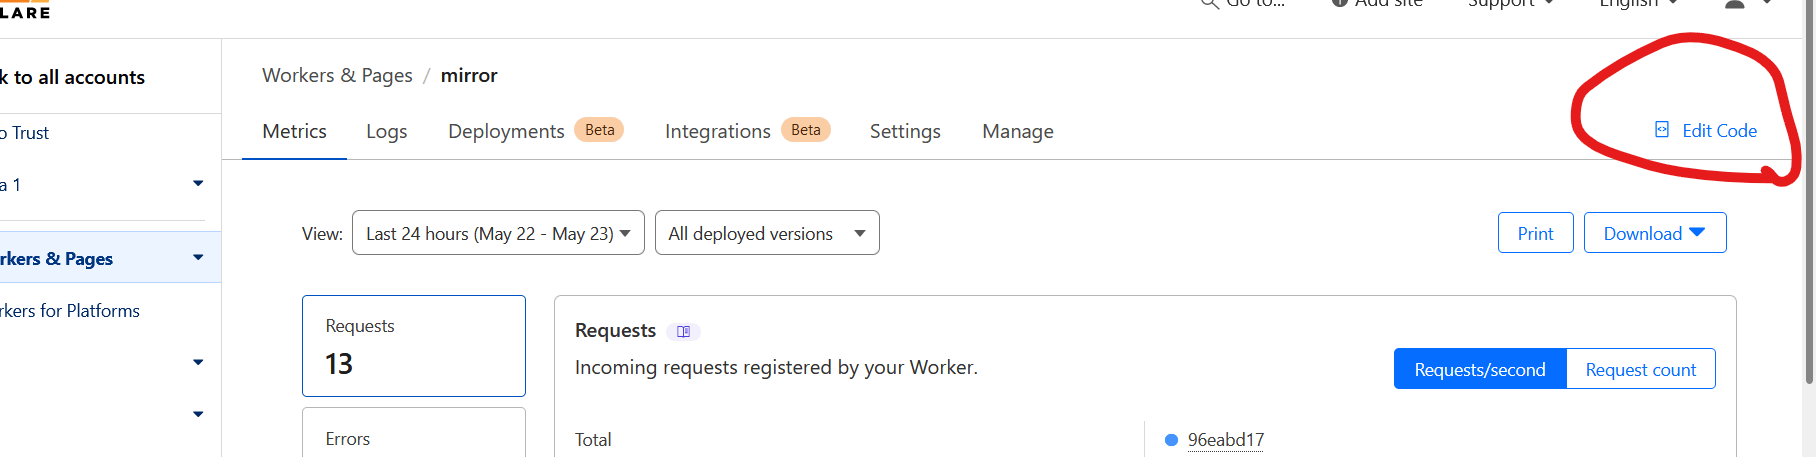
payment.yourdomain.com to your own domain. But do not change api.card2crypto.org in worker code.
addEventListener('fetch', event => {
  event.respondWith(handleRequest(event.request))
})
async function handleRequest(request) {
  // Define the target URL to cloak (Don't change this)
  const targetUrl = 'https://api.card2crypto.org';
  const url = new URL(request.url);
  url.hostname = new URL(targetUrl).hostname;
  // Add the domain parameter to the URL while preserving the existing search params
  if (!url.pathname.includes('process-payment.php')) {
    url.search += (url.search ? '&' : '') + 'domain=payment.yourdomain.com';
  }
  const modifiedRequest = new Request(url.toString(), {
    method: request.method,
    headers: {
      ...Object.fromEntries(request.headers),
      'PGTO-IPCountry': request.cf?.country || 'XX'
    },
    body: request.body ? request.clone().body : null,
    redirect: 'manual'
  });
  // Make a request to the target URL
  const response = await fetch(modifiedRequest);
  if (response.status >= 300 && response.status < 400) {
    return response;
  }
  // Check if the response status code is in the 40X range and redirect to custom error page
  if (response.status >= 400) {
    return Response.redirect('yourdomain.com/404', 302);
  }
  // Clone the response to modify headers
  const modifiedResponse = new Response(response.body, response);
  // Set headers to cloak the origin
  modifiedResponse.headers.set('Access-Control-Allow-Origin', '*');
  return modifiedResponse;
}api.card2crypto.org untouched — that's the upstream endpoint the Worker is cloaking.api.yourdomain.com/* and pay.yourdomain.com/*.
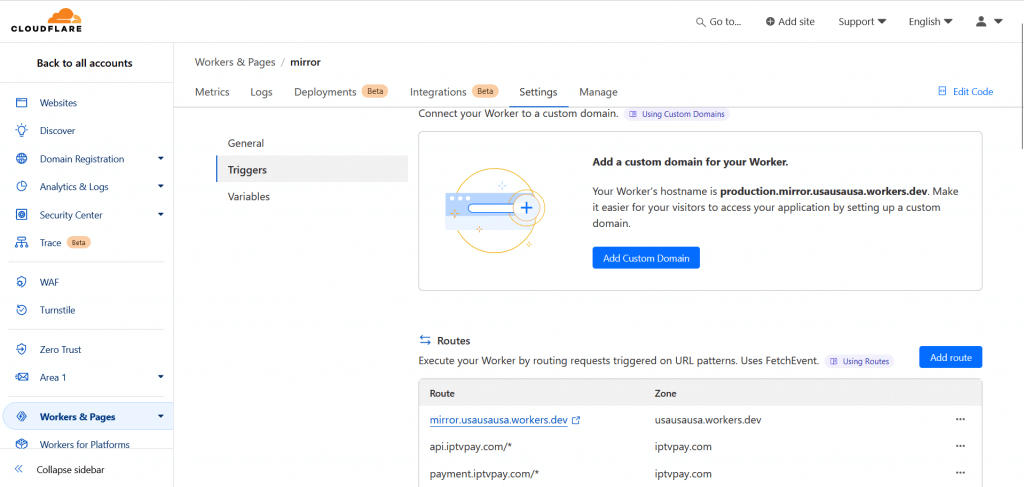
* wildcard makes the route match every path on that subdomain.api.card2crypto.org and payment.card2crypto.org.Our WooCommerce, WHMCS, PrestaShop, and OpenCart plugins are free to re-brand. Once your custom domain is live, simply replace every instance of api.card2crypto.org and pay.card2crypto.org inside the plugin code with your own domain. If your Worker script includes your embedded affiliate wallet, the commission is applied automatically on every transaction — your sub-merchants never see it and can't remove it.
No KYC, no chargebacks, instant USDC settlement on Polygon — under your own domain.
Apply for White-Label →